DRAWBOT // PHYSICAL COMPUTING
PROJECT
DrawBot
ASSIGNMENT
Physical computing + visualization
CLASS
Prototyping Studio with Andy Davidson
TOOLS
Arduino
Lilypad
Processing
MakerBot 3D Printer
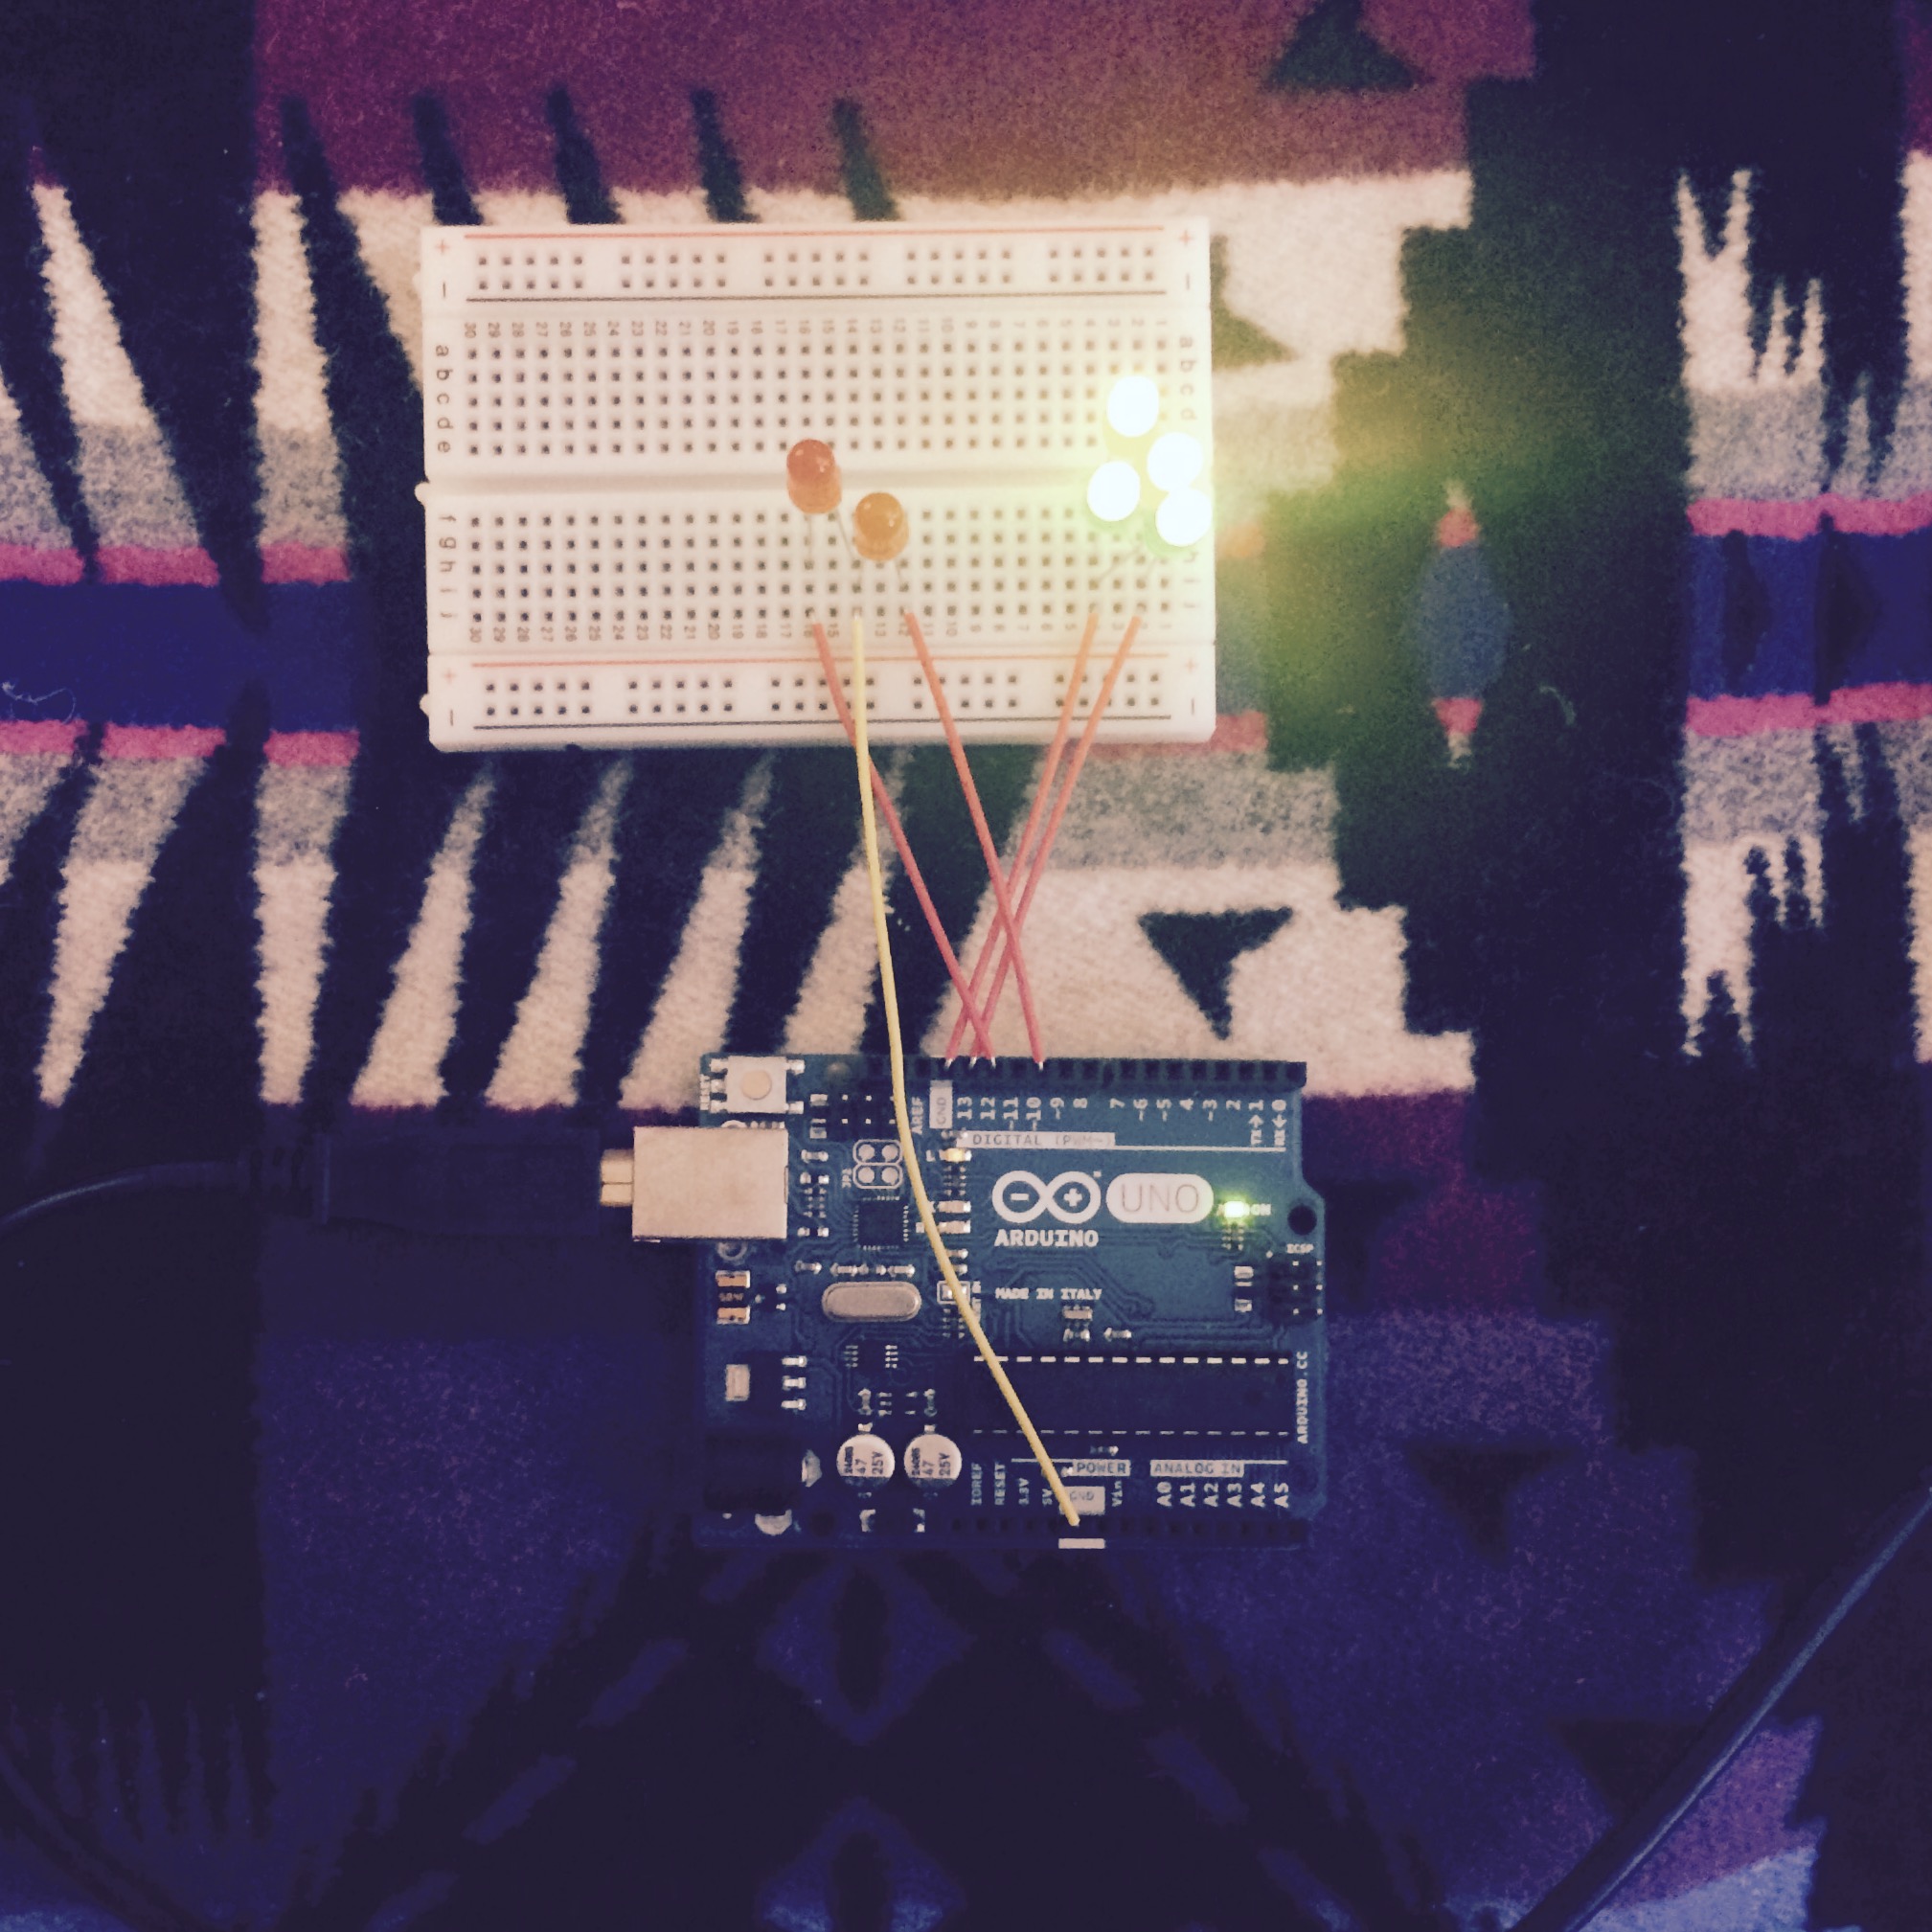
I had been looking forward to electronics prototyping since, more or less, the beginning of time, so when we were given a decent amount of freedom for the assignment, I decided to attempt multiple projects.
IDEATION
I spent some time over the weekend playing around and getting comfortable with my new Arduino; once I felt I had learned enough to begin ideating about project ideas, the brainstorming process began.
My mind was overflowing with ideas for this assignment: build an interesting temperature visualization using Processing or large, RGB LED lights that could be displayed on a wall, create a sort of mood-ring-type device by wearing the temperature sensor on my skin and incorporating a real-time visualization of the data, or a drawBot that could make cool designs all on its own.
I decided to attempt all of my ideas, with the intent of later finishing the projects I couldn’t complete in time for the assignment due date. After some time spent Google-ing, I found an online tutorial that included parts required for building the bot, so long as I could 3D print them. After asking Andy’s permission to use the printer in the design lab, I was set! After working through some issues with SD card configuration and a few other unknowns, I had the necessary pieces after waiting just three short hours for them to print.

EXPERIMENTING WITH THE LILYPAD
I had ordered the necessary micro-servos and RGB LEDs, and was now waiting for them to arrive in order to move forward with my projects. In order to use my wait time most efficiently, I decided to begin experimenting with the Lilypad, and practice sewing with conductive thread. This was far more challenging than I had expected! It took several hours of reading, learning, trying, failing, and trying again before I had successfully connected + to + and - to -, with no overlap, and had a blinking Lilypad without any computer connection. Although not a tremendous achievement nor a compelling project on its own, the practice was a tremendous learning experience and has given me the base skills to create more complex projects. Should time allow, I intend to sew red LEDs to the heart design on the tote, and program the Lilypad so that they light up in some sort of interesting pattern or design.
PUTTING THE PIECES TOGETHER
When the micro servers finally arrived, I began working on the drawBot setup. Like most things, this was far more complicated and time consuming than I had expected; simply installing the screws was nearly impossible as the printed plastic pieces had openings too small for the screws to fit. Eventually, however, I had a completed build to work with.
Once I had assembled the bot and tried it out, I realized the servos did not have enough power to work the device with the current plastic situation. Recognizing I needed help to make it work, I sought out the assistance of Tayseer, an electrical engineer in my program. Tayseer was gracious enough to spend a few hours making small changes and adjustments to my set-up. While he tinkered with the drawBot, he talked me through the steps he was taking; I learned a lot from Tayseer’s help.
PROBLEM SOLVING
Later, to try and improve the device which was hindered by imperfect plastic due to 3D printing, I attempted to sand paper a couple of the pieces to create a smoother experience. Additionally, because the screw on the bottom of one of the rotators also impeded the bot, I applied a layer of puffy paint type glitter glue to the bottom of the main piece to raise the device and allow for smooth movement.
After a few adjustments and quick fixes, I was able to get the X-axis working, drawing a straight, horizontal line back and forth across a piece of paper. Although I ran out of time to work on the Y and Z axes, this assignment was still, above all else, a tremendous learning experience. Less concerned about completing a polished product, and incredibly eager to get my hands dirty experimenting and trying anything and everything I could possibly get my hands on, I’d call this week a success.


DESIGN
I explored several different design options: (1) a vertical, rectangular device with an LED screen, (2) a Nest-inspired control displaying only the temperature, and (3) a circular device similar to Nest, that turned the water on by pushing the outer ring in, increasing water pressure as it moves away from the user. After some moderate market research and asking potential users their opinions, I decided to further ideate and build design number three: a circular device with an outer ring dial that controls both volume and temperature.
As previously described, to access the water flow, the user simply pushes the outer ring of the device away from their body and toward the wall it is installed on. Not only is this an incredibly easy, intuitive, and nearly full-proof way to have total control over water pressure, but, additionally, during my usability test with my roommate Bryan Murphy, he described the experience as, “...it’s fun! I even get to push in a button!” In other words, total success was realized.
The temperature control is also easy and intuitive to use. As with many similar systems, temperature is displayed through color and cold is represented as blue on the far left side of the device while hot is represented as red (or in this case, pink, due to marker constraints). Thus, the user must simply rotate the dial in either direction to achieve the desired temperature. This functionality passed the usability test with flying colors, as I utilized a common, well-known standard of temperature display and control.
WATER CONSERVATION
Inspiration for the LA Shower came from the Los Angeles drought, and the subsequent need to conserve water, a worthy cause in all cities. At first I ideated a shower control that would automatically turn off after a designated amount of time had passed, but that idea was ill-received by my target market; instead, I designed a display that featured a passive timer at the bottom.
After researching the average shower time required for water conservation, I set the standard to ten-minutes. In order to increase mindfulness of water usage, as well as awareness of time spent showering compared to the ideal ten minutes, I added ten small lights to the bottom of the display. As each minute passes, one light turns off, until all ten have turned off at the end of the ten minute period. Ideally, users will then finish up their shower activities and end the shower earlier than their usual time. Even more ideally, however, users will experience a gamification of sorts, attempting to beat their previous shower time, and resulting in shorter and shorter showers and thus an increase in water conservation.
TUNEZ
The last function of the LA Shower includes a music player, because what fun is a shower you cannot sing in? The design is incredibly simple; the prototype assumes the user has already synced the device with their iTunes or Spotify account and specified a desired playlist that can be altered from their account, not from the device. Thus, the only functions on the shower control include swiping right or left to change songs, tapping anywhere on the display to start or stop the music, and volume control, which I did not realize I had neglected to include until performing my first usability test.
CHALLENGES
Many problems arose during development. For instance, because the main console and outer dial were constructed of the same material, it was incredibly difficult to turn the dial, a major design flaw. To create a smoother experience, I simply cut a piece of paper and wrapped it tightly around the center console, allowing for smooth turning, and fixing the problem entirely.
ASSIGNMENT
3D lo-fi prototyping exercise; we were given the option of modeling an immersion blender, stud-finder, or shower control interface.
I chose the shower control interface option for my 3-D model prototype. The first aspect of design I needed to tackle was creating a control that would be easy to use while showering, taking into account factors such as difficulty seeing clearly, and wet or soapy hands. In addition to improved usability, I set out to create a design that would increase user awareness around water usage and conservation. Inspired by the Los Angeles drought, the design is called "LA Shower."